Buy Now
If you're reading these lines while asking yourself what the f* is Aquafaba, you reached the right post!
Aquafaba is just another name for chickpeas cooking water which can be used as an amazing egg replacement. If you're following me on Instagram, you probably saw that in the past few weeks I've been playing around with this vegan marvel and whipping it to create soft "egg-white" peaks.
For someone who makes hummus at least once a month, I felt ridiculous for not maximizing the use of the leftover cooking water.
It might sound like a hassle to go through the entire process of cooking beans just for the water, but really it's just a matter of perspective. Sometimes you cook the beans for the water, and on other occasions, you cook the beans for the beans and the water are just your by-product.
In any case, see it as an opportunity to make great food while avoiding food waste!
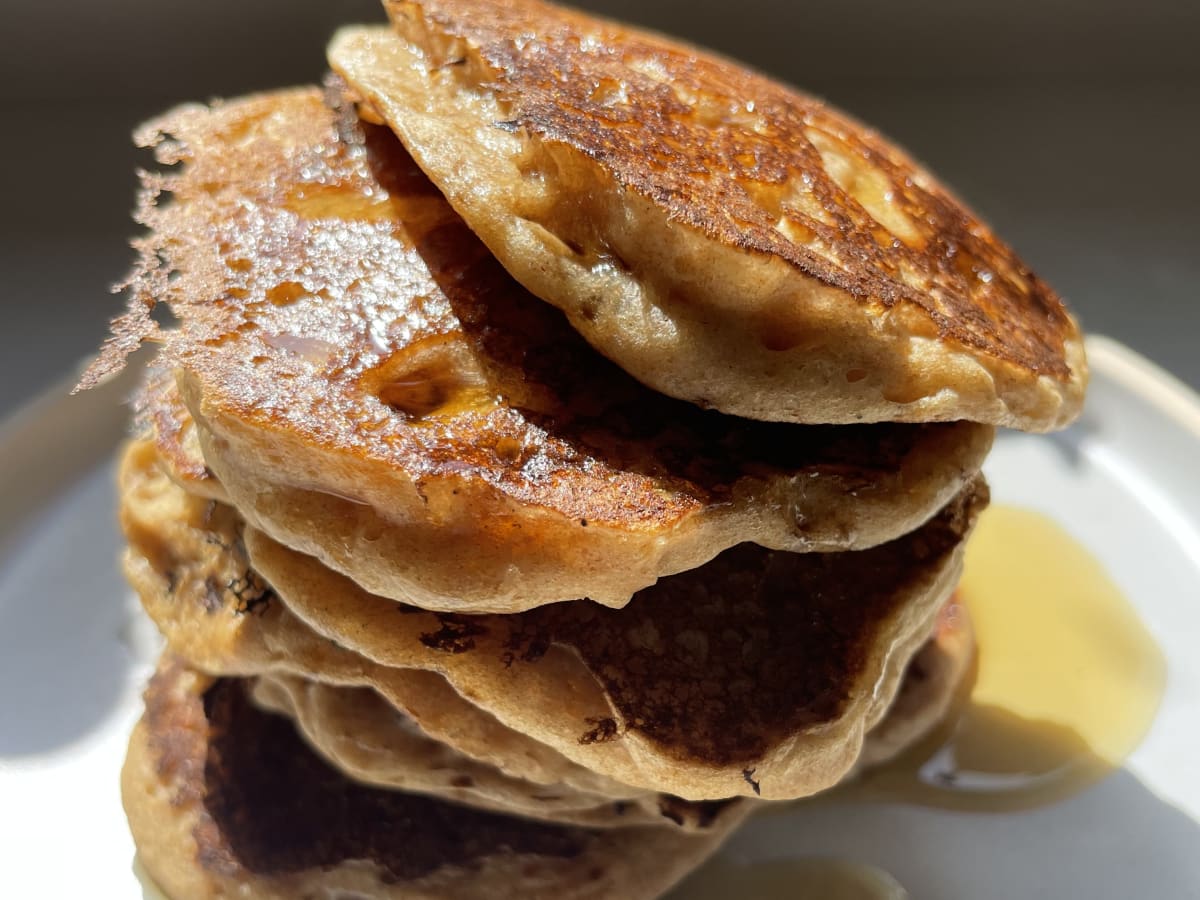
When you make hummus you can use the cooking water for baking purposes (like these Soft Chocolate Chip Cookies), and if you need whipped aquafaba you will already have cooked chickpeas ready for your next batch of hummus! (BTW- you can always pop your cooked chickpeas in the freezer, so there's no pressure to use them right away).
Whipping Aquafaba could be tricky, especially because you have to get the consistency of the water just right. The easy solution is using canned chickpeas, but as you probably know already, as part of my nutrition preferences I don't use any canned foods in my kitchen. I'm simply not interested in taking the health risk of a leaking can and having aluminum or BPA in my food. Plus, I find the sprouting or even the pre-sprouting of beans to be a crucial step when trying to avoid the digestion issues that are often caused by legumes! Obviously, the canned beans did not go through such a process.
So, these are my main Aquafaba tips for you:
Follow these steps and sprout the chickpeas before cooking;
When cooking the beans, just cover them with water and don't be tempted to add more. This will help you get the right consistency for whipping.
Chill the cooking water in the fridge for 4 hours or until completely chilled!
The whipping takes about 4 minutes and requires practice and patience. Don't give up if you don't get it right the first time.
Keep In Touch
Subscribe to receive delicious recipes, updates, competitions and more.
recipe
Think Ahead
25.5 hours
Prep Time
5 minutes
Difficulty
Servings:
2cups whipped aquafaba
Ingredients
- 7 oz dried chickpeas
- Water
- 1 pinch Himalayan salt
- 1 tsp apple cider vinegar


Instructions
Soak and sprout the chickpeas as instructed in this recipe.
Rinse the sprouted chickpeas and place in a large pot. Cover with 1-1.5" (~2.5-3.5 cm) water and bring to boil. Reduce the heat and simmer for 1.5 hours, until the beans soften.
Drain the liquid and place it in the fridge for 4 hours or until chilled. Save the beans in an airtight container in the fridge for up to 3 days or in the freezer for up to 3 months.
Use a stand mixer or a hand mixer and whip the aquafaba with a pinch of salt and apple cider vinegar (which helps to expedite the whipping process). This will take about 4 minutes, depending on how firm you want your peaks to get.